Easy-Peasy Homemade Beeswax Candles
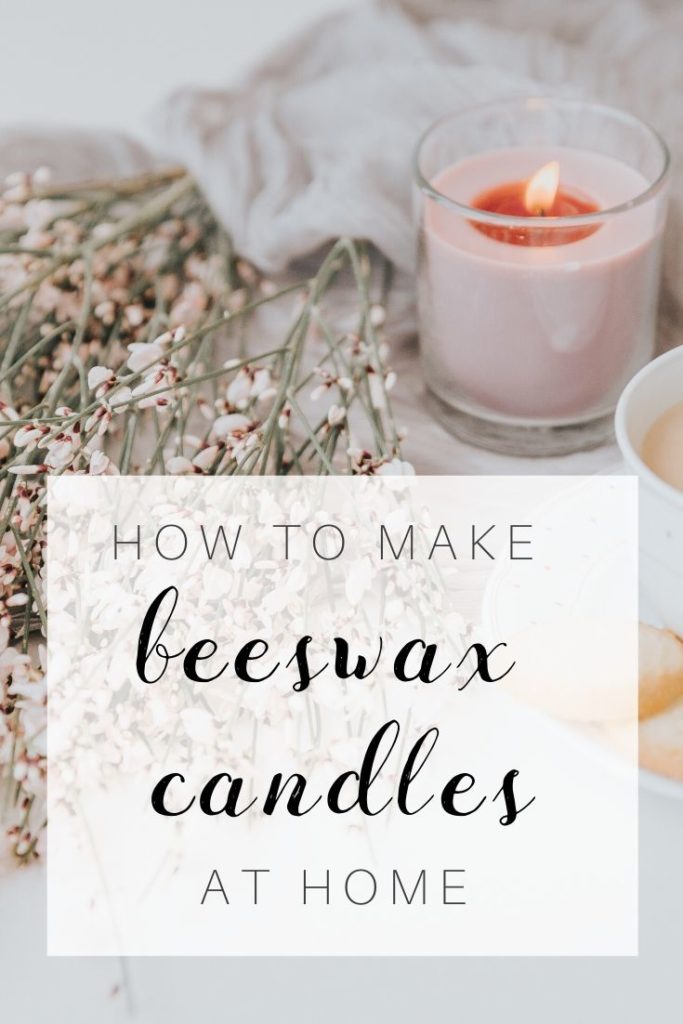
Your favorite scented candles are made up of dozens of different toxic chemicals. Homemade beeswax candles are the healthy, sustainable choice.
I didn’t always make homemade beeswax candles.
When it came to insta-relaxation, scented candles were my go-to. I’d wait until that Buy-2-Get-2 Yankee Candle coupon arrived in my mailbox, then I’d load up on 4 large tumblers in my favorite scents (Clean Cotton, anyone?)
I shopped around for healthier candle options, but they were triple the price. So I decided to make my own.
Why make your own beeswax candles?
1. It’s cheap.
You can make two half-pint sized candles for under 15 dollars. Here’s a breakdown of the cost per batch (about 2 candles):
$11 (beeswax) + $2.50 (coconut oil) + $1 (wick) = $14.50
That’s just $7.25 per candle!
2. It’s easy.
Homemade beeswax candles require just 2 ingredients, plus a stove and repurposed glass jars.
Even better, you can make these candles in 30 minutes, 28 of which are spent wait for the beeswax to melt on the stove.
3. It’s healthy.
Scented candles are made of industrial chemicals that transform the structure of our DNA. Cancer, allergies, asthma, headaches and depression may be linked to the burning of scented candles.
That’s because most candles are made with paraffin, a byproduct of petroleum. When it burns, it’s an extreme air pollutant that emits carcinogens into the air in our homes (acetone, benzene and toluene, to name a few).
Homemade beeswax candles, on the other hand, are the healthy alternative to scented paraffin candles.
They purify the air instead of pollute it.
Beeswax emits negative ions when it is burns. Negative ions reduce dust, dander and mold in the air we breathe.
4. Homemade beeswax candles are sustainable.
Homemade beeswax candles repurpose glass containers. Even better, they reuse these jars into candles again and again and again.
Search your your kitchen for some cute glass jars, then soak off the labels. Mason jars work well; spaghetti sauce jars do, too.
There’s no wasted wax, either. That’s because it’s easy to scrape out dried wax and remelt it with your next batch.
Homemade Beeswax Candles
1 pound pure beeswax
1/2 Cup coconut oil
2 to 3 glass jars
1 package 60-ply cotton braided wick #4, cut into pieces
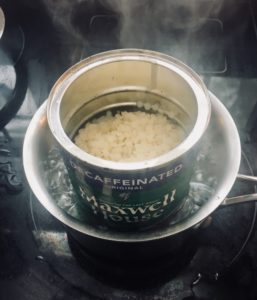
Empty coffee can (or another metal container)
Large pot
Bamboo skewers
Tape
1. Place beeswax in coffee can.
2. Fill pot halfway full with water. Make a double boiler by putting the coffee can inside the pot.
3. Bring the water to a boil then keep it at a gentle boil until all of the beeswax has melted, about 30 minutes.
4. While the beeswax melts, prepare the wicks by cutting them two inches longer than the depths of your glass jars.
 5. Once the beeswax is completely melted, remove from heat and add coconut oil. Stir gently with a bamboo skewer; fully incorporate the coconut oil.
6. Pour a small amount of wax into the bottom of each jar so that there is about a half-inch at the bottom. Return the coffee can to the pot to keep the wax melted.
7. Using the tip of a skewer, push one wick down into the wax in the center of each jar. Let the wax cool until it is solid enough to hold the wick in place when you lightly tug on it, about 5 minutes.
8. Wrap the top end of the wick around a bamboo skewer until it is taut with the skewer resting across the top of the jar. Use a small piece of tape to keep the wick from slipping off of the skewer.
9. Pour remaining melted wax into each jar. Leave an inch of space at the top.
10. Reposition the skewer holding the wick so that the wick is in the center of the jar.
11. Let cool completely, preferably overnight.
12. Trim wick to about 1/2 inch.
13. During the first burn keep your candle lit until the entire surface has melted, at least 2.5 hours.
A note on these candles: They may tunnel! Mine often do, despite having experimented with various containers of different depths and opening sizes.
If your candle tunnels, make your own remedy by wrapping tinfoil around the opening. Watch this video for help.
Stay in-the-know!
Sign up for monthly eco-friendly inspiration.